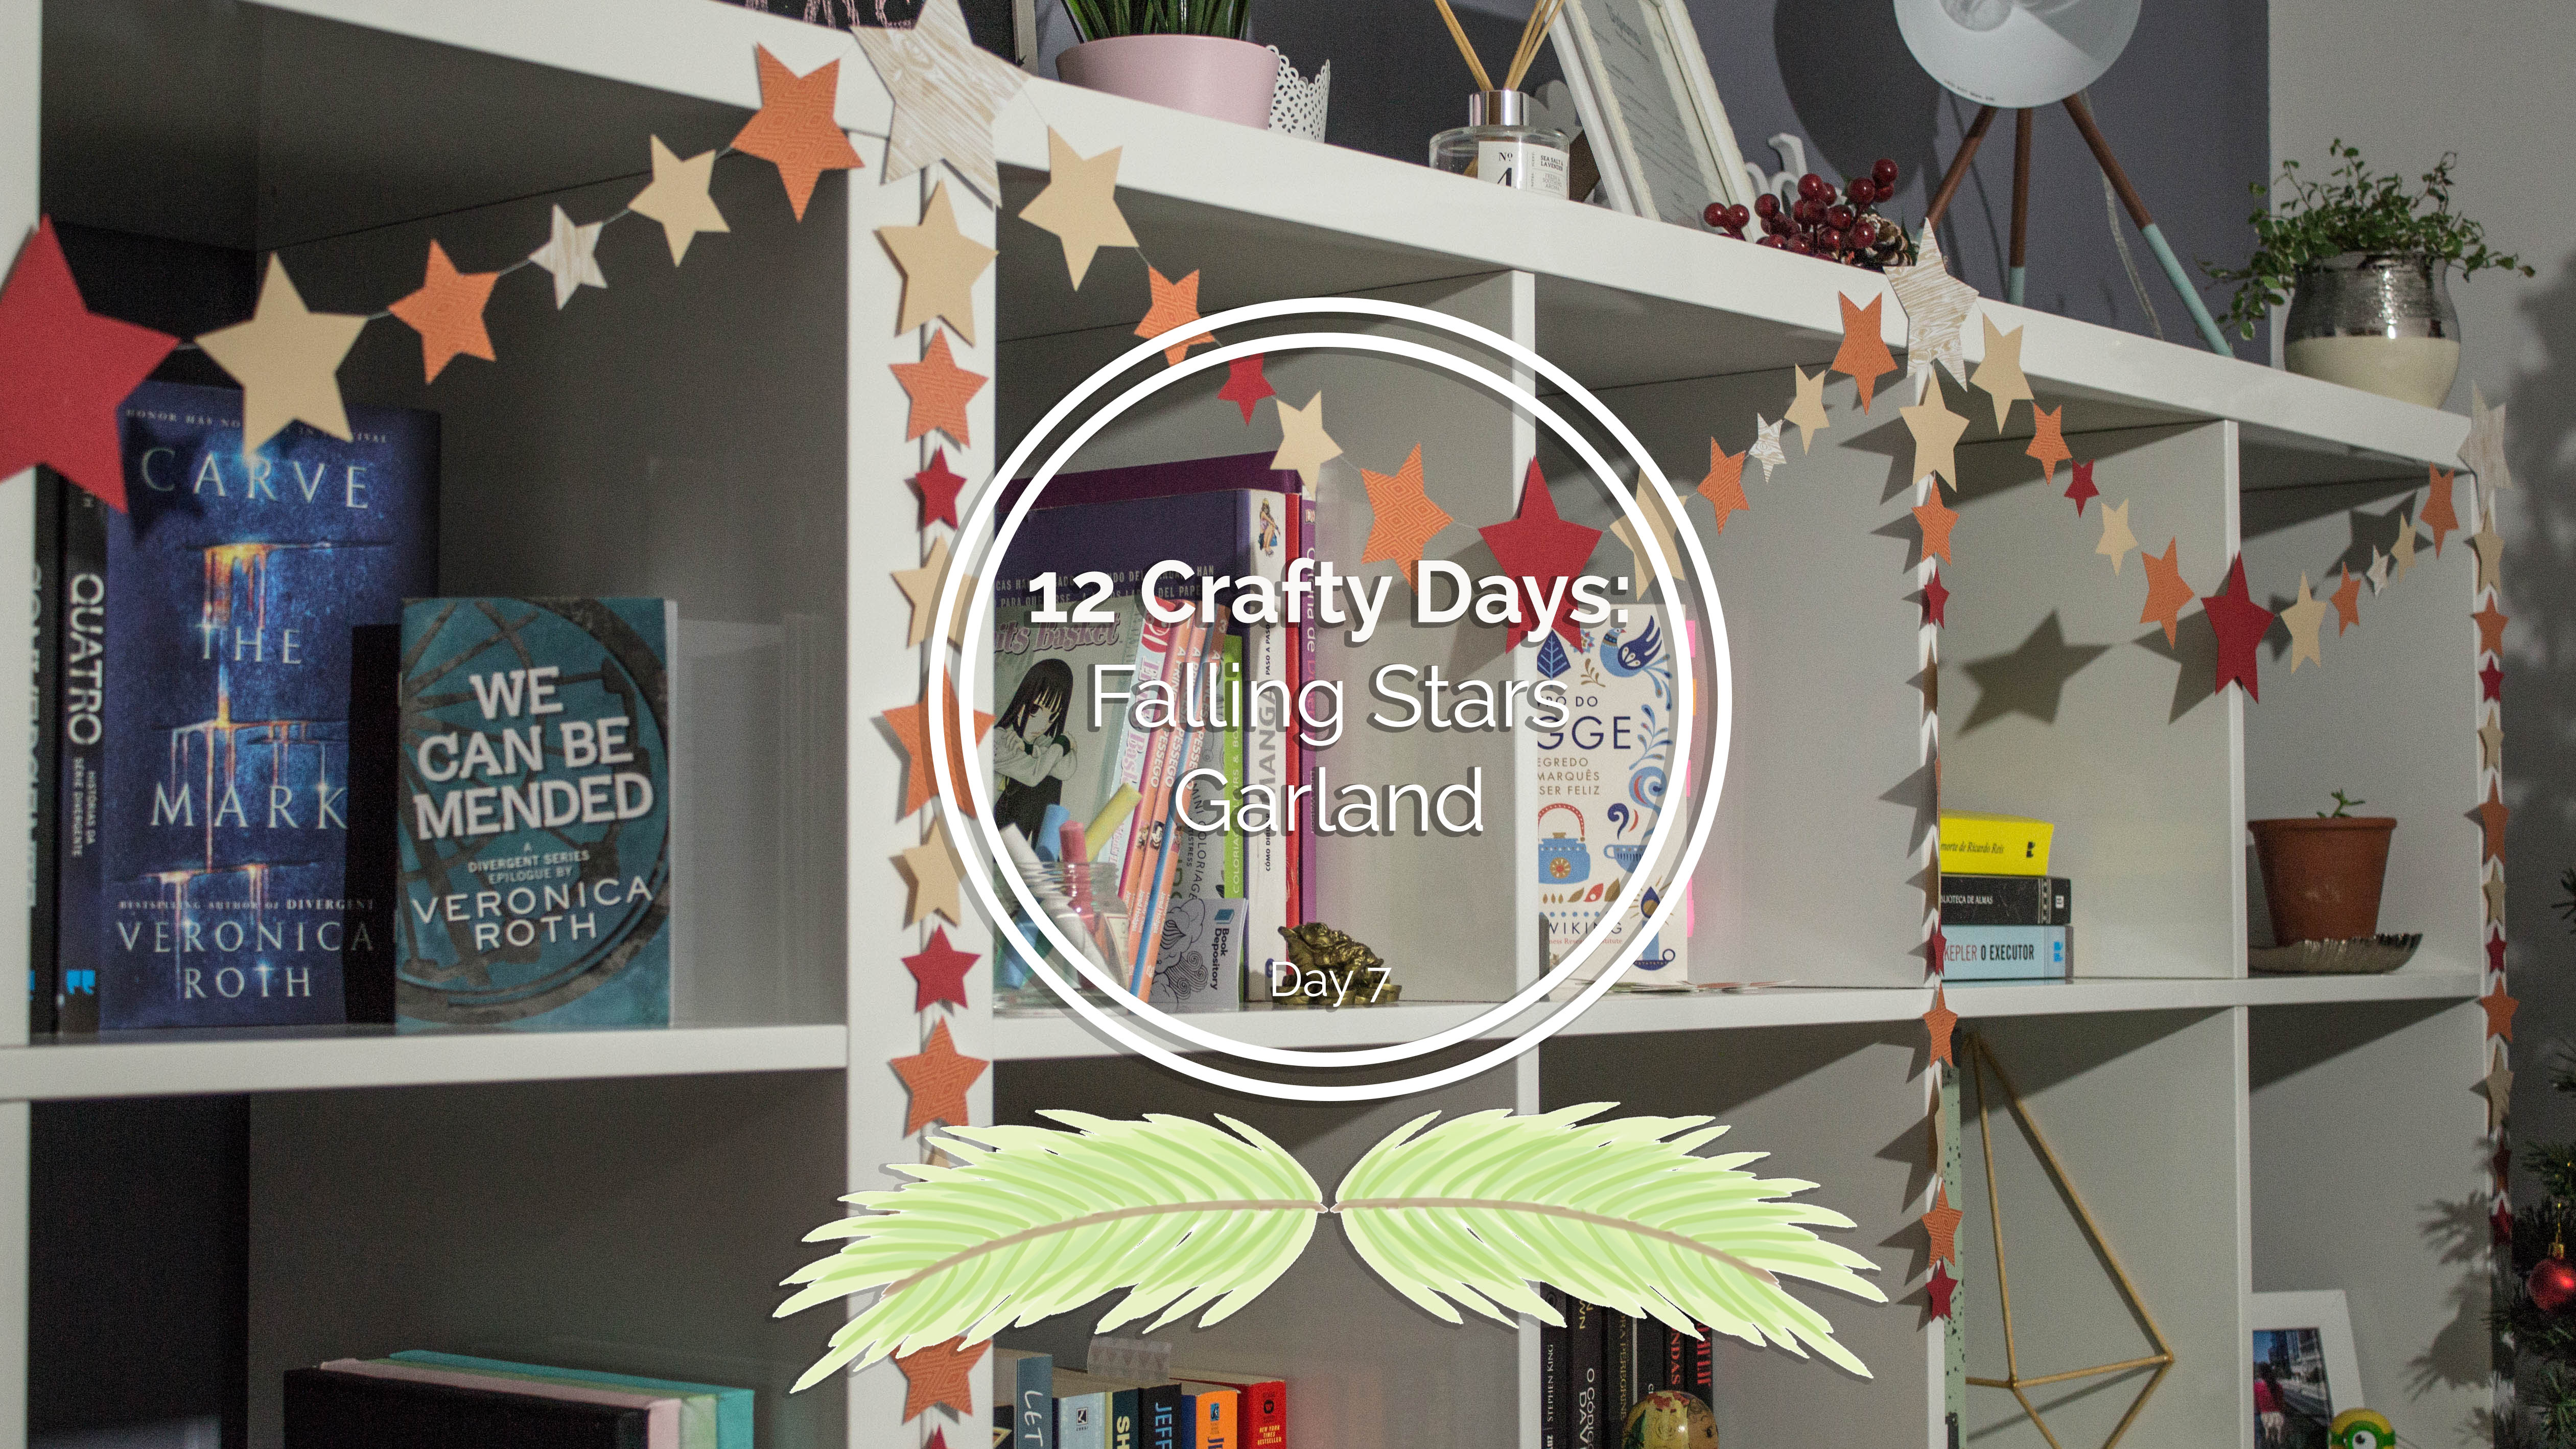
I’ve been so excited to share this DIY with you. This was one of my first Christmas ideas for this year and I’ve been testing different options. Firstly this craft joins two types of garlands one horizontal and one vertical. Next, is a mixture of texture, colour and size turning something mundane into something vibrant. And lastly, is so easy to make! I think it looks so nice that I’m for sure going to do a couple more in different shades to switch off after Christmas.
I’ve tried sewing the stars for a more lasting finish, and even though, it’s easy since the stars have different colours you can’t use one string colour that can pass by undetected from all the stars. I tested with red string and although it was perfect on the red stars it didn’t work for the rest, causing the loss of the effect of a star. This technique results perfectly with circles since it has a perfect shape, while a star ends up with a line dividing it.
Then I was experimenting with different sizes. I know they are does shape cutters super easy to use and very handy. Although I don’t own any and I’m sure a lot of people don’t either. Plus, you get restrained by the size while if you print out the shape in the size you want you can make them as big as you want. From the start, my plan was to cover both of my Ikea shelves from one end to another, that could be as bold as the shelf itself. The same way, I can imagine this DIY on a smaller scale for a more delicate location and with more vertical string to increase the idea of stars falling.
The stars are divided into 4 different sizes:
Giant (G) – about 9,5 cm
Big (B) – about 6,7 cm
Normal (N) – about 4,8 cm
Tiny (T) – about 3,5 cm
And then into 4 different colours: Wood, Beige, Orange and Red. But you can use other colour and patterns just remember that each colour has a specific amount of stars.
The PDF’s are divided by patterns/colours. So on each sheet or sheets, you have the number of stars necessary for that specific pattern.
Wood pattern PDF – makes 5 G and 4 T stars
Beige pattern PDF (print 2 times) – makes 18 B and 18 N stars
Orange pattern PDF Part 1 & Part 2 – makes 13 B and 23 N stars
Red pattern PDF – makes 4 G and 19 T stars

Although if you don’t want to make a garland this big, I have another PDF just with the templates of the stars. You just print it out and use them as moulds. This way, you do have an extra bit of work since you have to outline and then cut out the stars. I actually had to do this for my orange pattern since I only had one sheet of that cardstock and I needed two. Just so you know you can cut out all the orange stars from a 24 cm by 34 cm sheet.

Supplies
Cardstock 250 g/m2 (in 4 different patterns)
White Tread
Glue
Scissors


Step 1. Print on the back of the sheets the PDF’s above according to the correspondent pattern. Cut out all the stars and stack them into piles divided by colour and by size

Step 2. Since I wanted my “wood” stars to be aligned with the shelf, I displayed the tread on the shelf and marked where the giant stars would go. Then I attached them to the tread applying glue on a straight line from one tip to the other.


Step 3. Now is time to build the sequence. The size of the stars are always from the biggest to the smallest and from the smallest to the biggest. So one full section (from giant wood star to another) is:
G Wood, B Beige, N Orange, T Red, N Beige, B Orange, G Red, B Beige, N Orange, T Wood, N Beige, B Orange…
At first, it can be hard to memorise but then you get used to it, trust me. My advice is it to do by semi-sections from one giant wood star to another giant red star. That way you are just dealing with 5 stars at a time.
Step 4. Glue the stars the same way as the giants but start from the outside to the middle. So glue the big, then the normal and lastly the tiny. This way you are making sure you have space for every single one. In my case, I had to leave a little space between the starts to make it even, but if you prefer you can glue them closer together. Do the same until you are finished.

Step 5. While the main garland is drying is time to make the vertical one. Again the stars are always in size order although, the colour sequence changes. You only have to make 5 of these each separated on its own thread.
B Beige, N Orange, T Red, N Beige, B Orange, N Beige, T Red, N Orange, B Beige, N Orange, T Red
Step 6. When glueing the stars, start from the end on the tiny red to make sure you have enough thread, even to later glue to the giant ones. Apply the glue from one of the tips to the inner corner making it facing up.

Step 7. Once everything is dry, just add a bit of glue on the giant wood stars to attach the falling garland. Leve the same space from the other stars to make it even and cut out the excess thread.
Now just place it on your self or where ever you want and use glue pads to keep the giant stars in place and to hold the garland. This brings so much colour to the room that I might do a couple more in different patterns to keep them all year around. Put on some Christmas movie, sit by the fire and have fun making this DIY.
Merry Christmas!