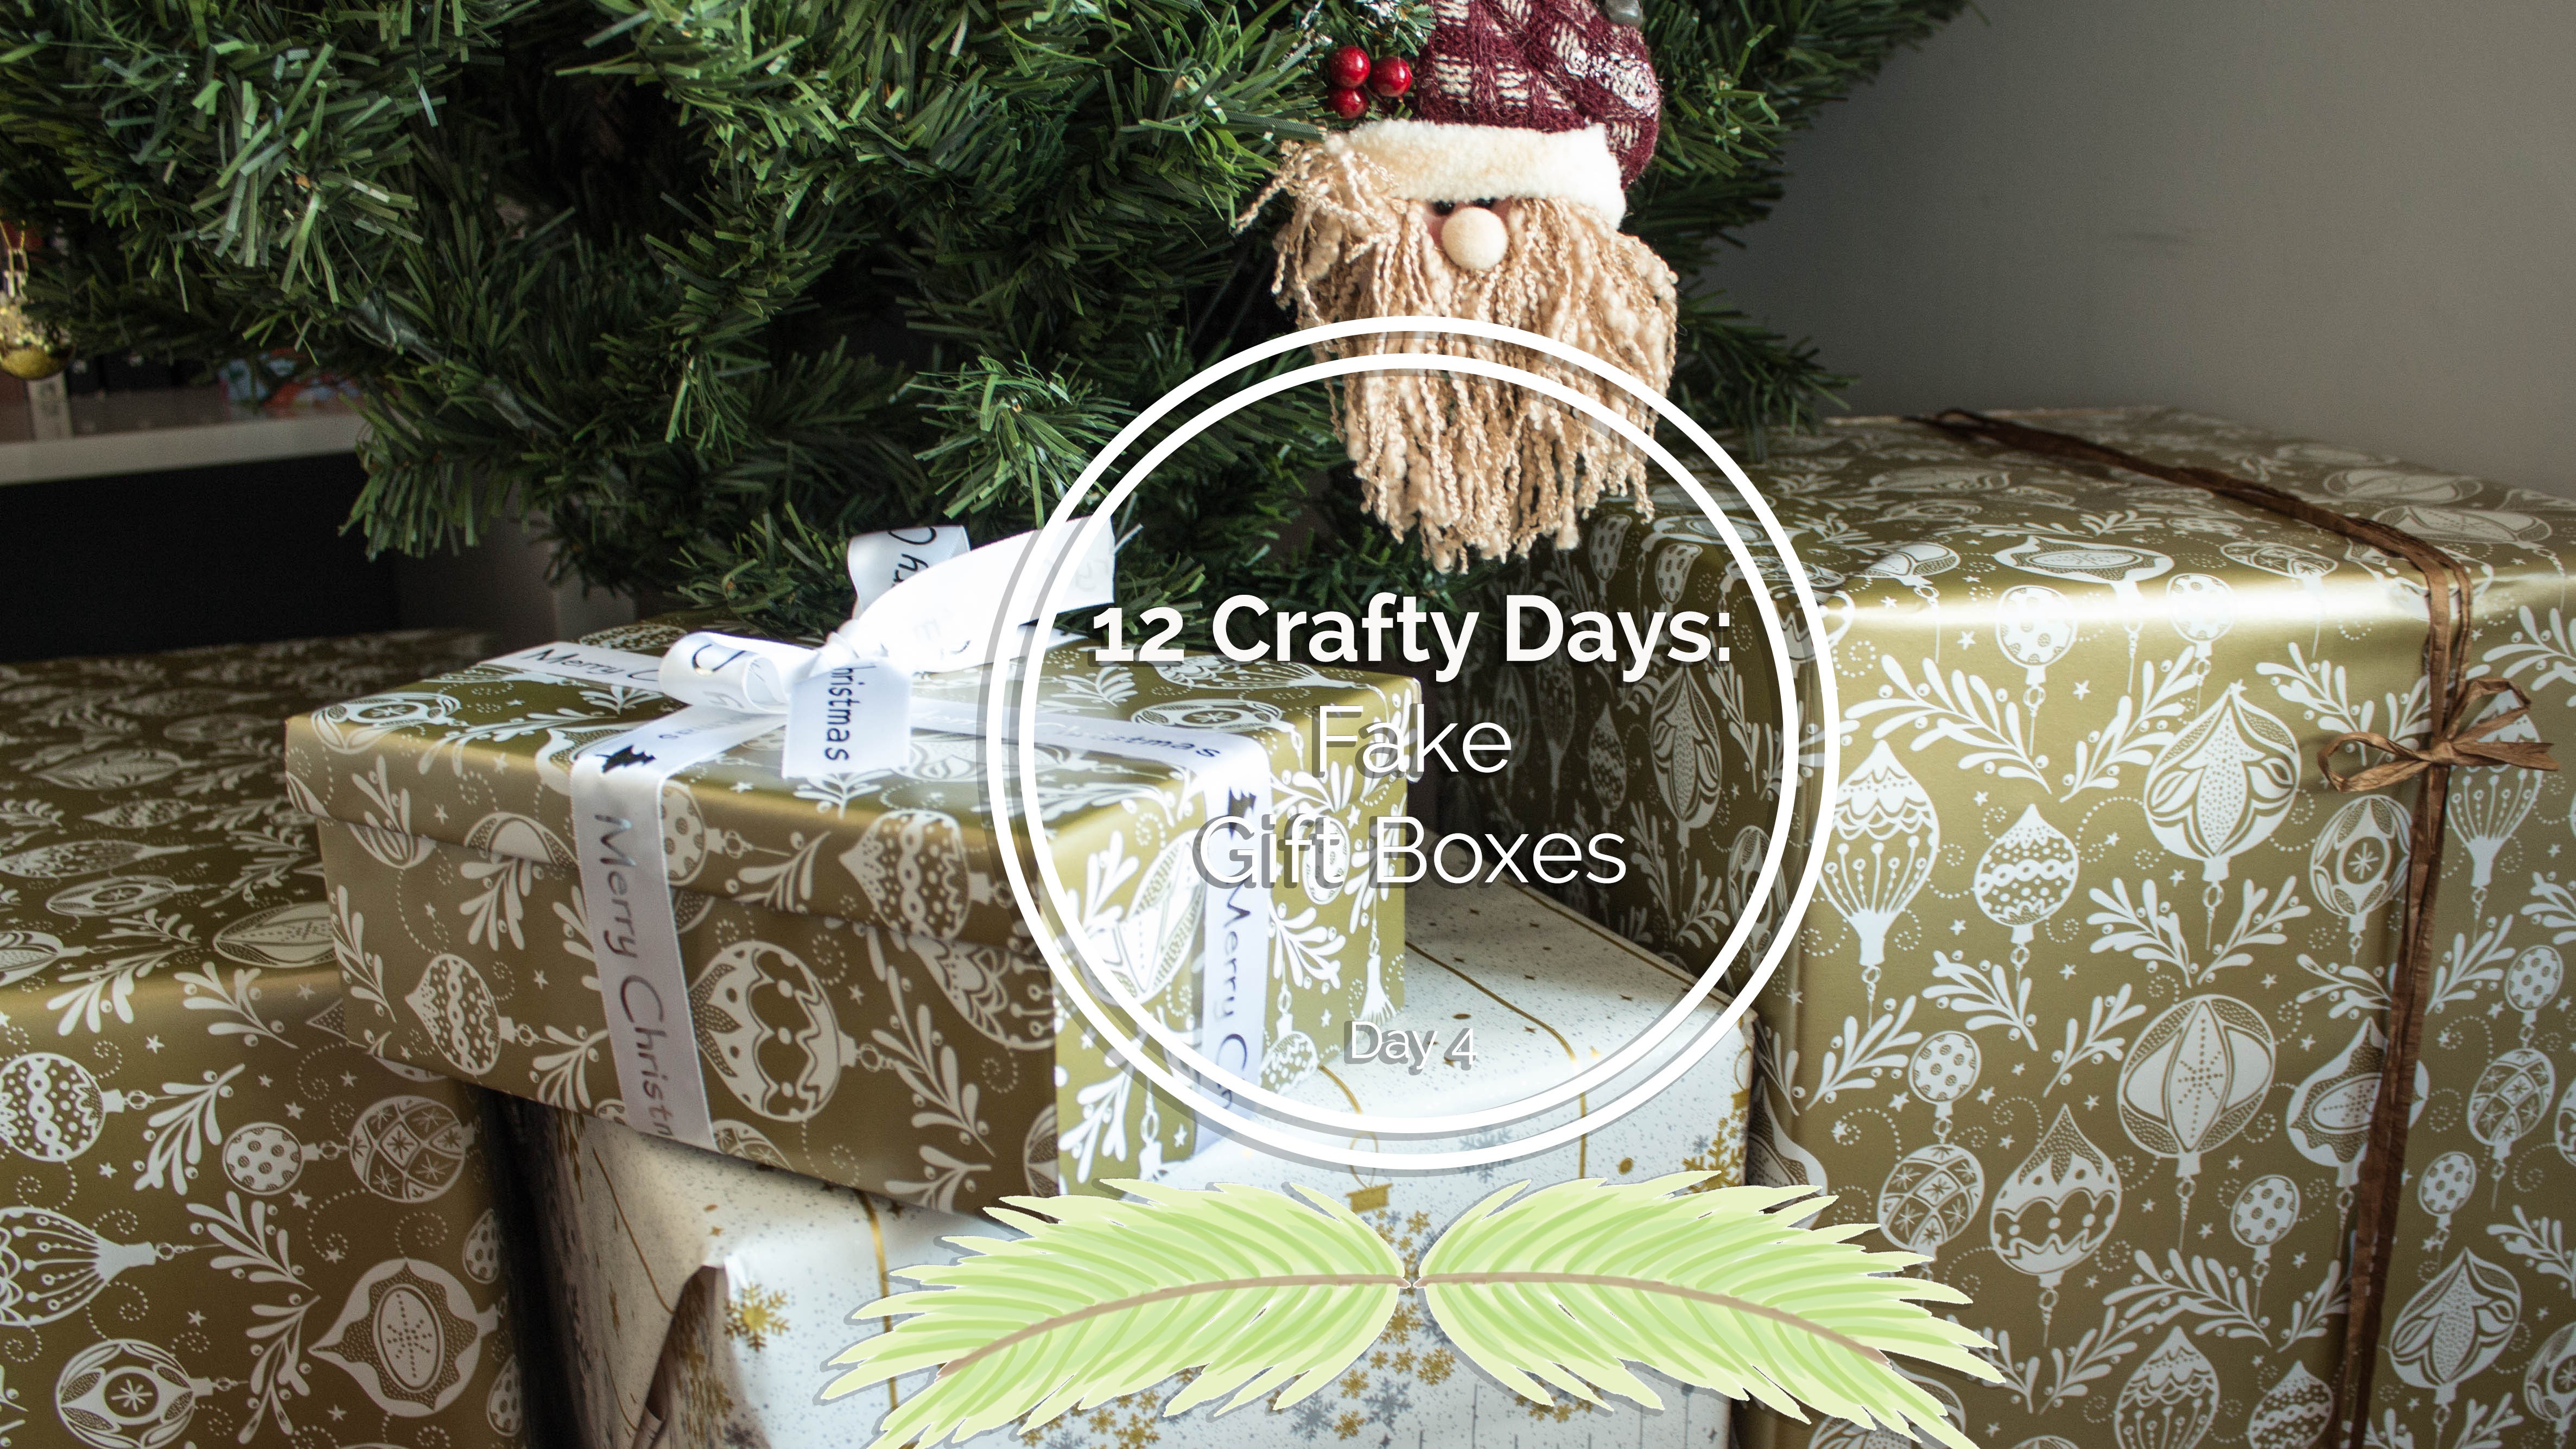
I love to see a Christmas tree fully decorated, but the best part is the presents underneath. If a tree doesn’t have presents it feels naked to me. So I thought about wrapping a few empty boxes. Although, it will take so much space in the attic afterwards – which I can’t complain about but still. As a lightning streak, I thought what if the boxes weren’t closed? What if I wrap them and somehow leave one side open to be able to use the box later for storage?
This idea was inspired by Studio DIY and the post in 2015 of the Emoji Gift Wrap. There are so many ideas on how you can make beautiful boxes to gift to someone but no ones say you are obligated to actually give them. So instead of just spending your time wrapping presents beautifully for then later be ripped off, why not do the same but keeping them just to please the eyes. You could do theme presents to go with the tree decor or like do a fun tree with emojis or even Pandas!
I tried to keep things simple and wrap it in the most basic way possible and then work with the folding. On my first box, I was wrapping and discovering how to accomplish my goal at the same time. Luckily it worked. While I was wrapping my second box, I made the mistake to rotate the box 90º and start wrapping on the big tabs first instead of the small ones Which left me without enough paper on one side to folding. And also a poor finish on the exterior tabs. On my third attempt, I was more aware of the alignment of the box but I still got left without a bit of paper on one side. Therefore, I’ve learned two things. One, be aware of the size of the box and the width of the paper. Two, be aware of which side you start wrapping.
Supplies:
Wrapping paper
Scissors
Glue and Tape
Old box

Step 1. Spread out the wrapping paper. Align the box keeping in mind that the slot of the box (when closed) must be perpendicular to the wrapping paper. Cut out the amount of paper you will need.


Step 2. The side of the box that will be the top is face down to make sure it stays straight. Align the box with the centre of the paper. Open the taps and flat the big ones back so they don’t get in the way. Start one side by glueing the paper on the small tab. I’ve done with glue and with tape each of the way work nicely is about your preference. Do the same on the opposite side without forgetting to stretch the paper to make it tight.


Step 3. Fold the excess paper to the inside of the box and glue it as well. Do it for both sides. With scissors cut out the excess from the tabs.


Step 4. Fold in the small tabs and start working on the other sides of the box. Fold one side of the paper at a time to mark the triangle sides. Then overlap the paper and fold the triangle in and secure it with tape. Add a few more bits of tape if you need to secure both sheets together. Glue them to the tab. Fold in the paper and glue it as well. Do the same thing on the other side.


Step 5. For little excess paper on the sides of the big tabs, fold them in and secure with tape to give a neat finish. Repeat the same on the other side and you’re done! Box wrapped and fully functional.

You can add weight inside the box and then flip it around to make sure it stays in place. You can also add ribbons which help to keep the box closed and gives the look. Any additional decoration you place avoid glue it directly to the box. If you glue a pretty bow on top when you flip the box around it will be smashed. From this, you can do all kinds of gifts and be creative with the themes, yet knowing that when Christmas has passed, you’ll be able to open the boxes store every bit and bob and put it away nicely for next year.
Merry Christmas!