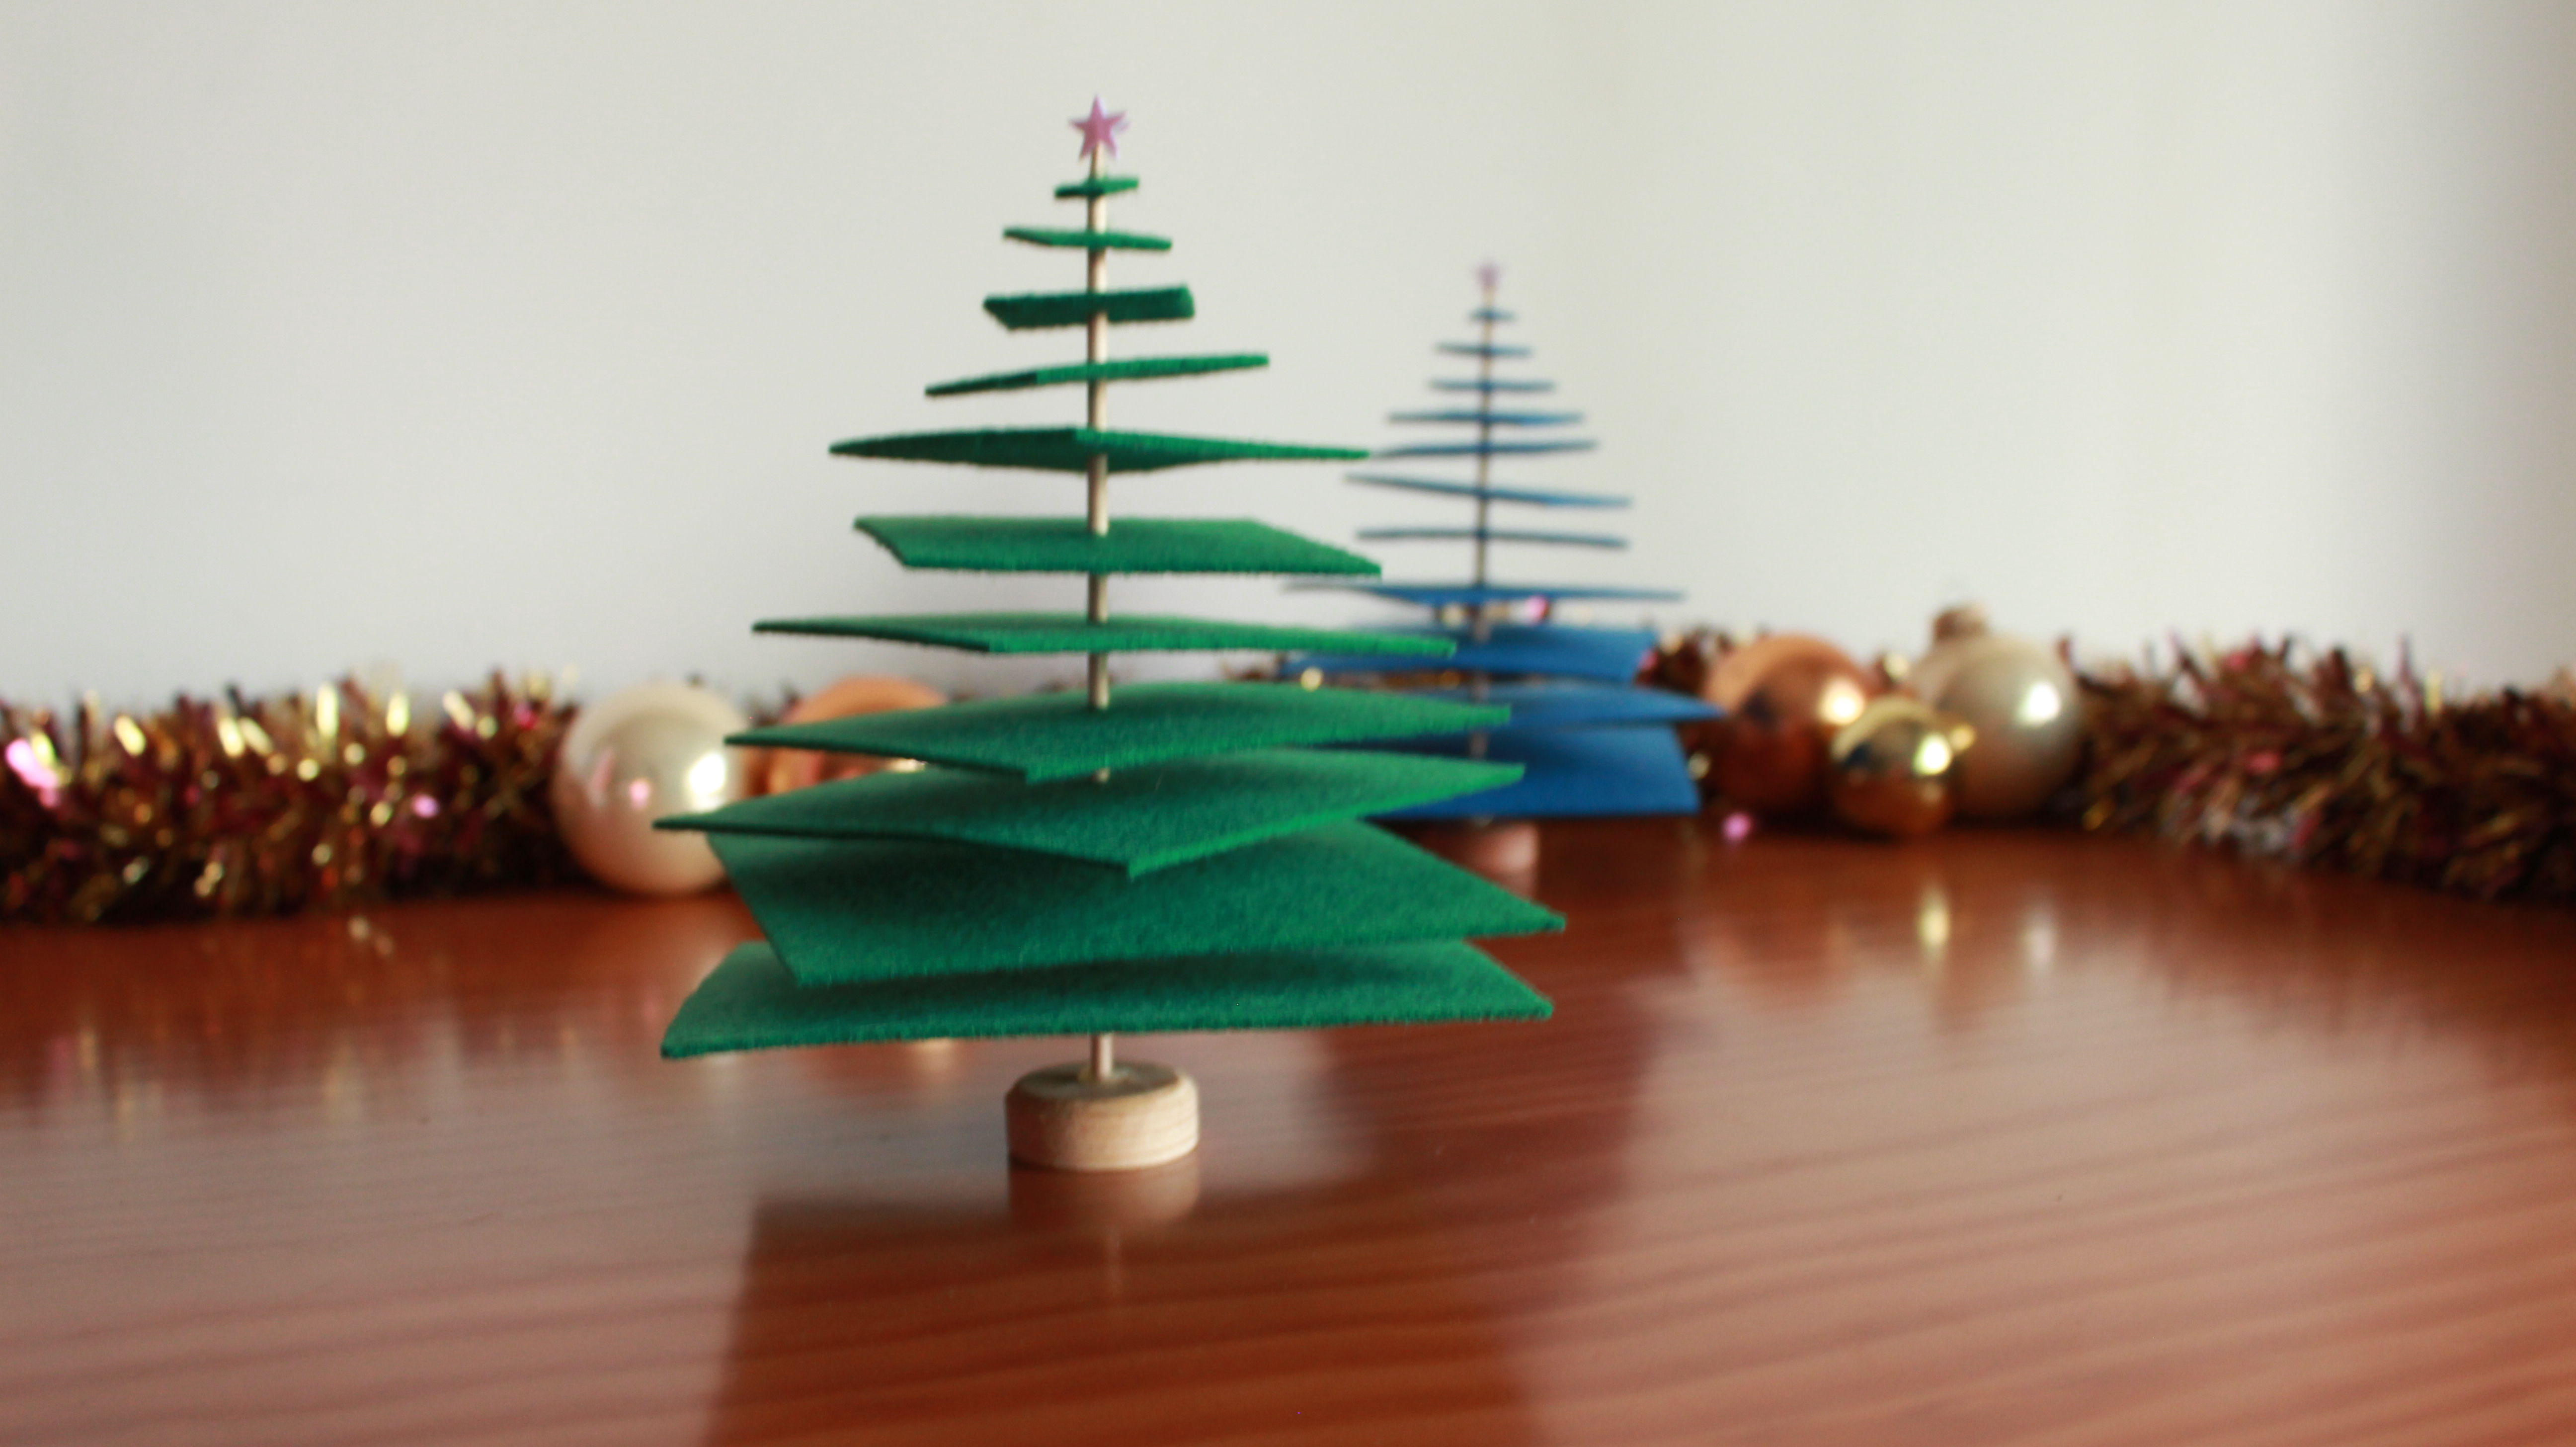
Since last year I’ve been seeing DIY for making small sized Christmas trees you can use to decorate your desk for example. They are so simple and cute to made I could let this year pass by without making them. I made both trees in less than 2 hours so is the perfect craft for a last minute decor.

Supplies:
Felt (dark green and blue)
Scissors
Cocktail Sticks
Circular Wood piece (30mm diameter)
Glue
Decorative Stars
Needle
Pencil

Each layer of the tree is made with a square shape smaller near the top. I started with a 12cm square and took 1cm each new square so, in the end, I got 12 squares from 12 cm to 1cm – from the bottom to the top. So I start drawing all the squares I need in the felt and them cut them out.

With the help of a needle open a hole in the middle of each square enough to insert the cocktail stick. Start from the bigger square up to the smallest leaving the same space between layers. I didn’t use any glue in this process but if the hole gets too big and the layer to wobbly you can ensure they stay in place with a bit of glue.

After placing the squares in place is time to glue the stick to the base this way your tree can stand up straight. I found these circular wood pieces at my local hardware store.

There is only one thing missing to be considered a Christmas tree: the star on top. I used 2 stars and glue then on opposite sides with the pointy side of the cocktail stick in the middle. And it’s done! Quick and easy Felt Layer Christmas Tree!