A few weeks ago, while going through my Bloglovin’ feed, I bump into a DIY post for tassel earrings. They are so simple and beautiful I wanted to make them. Although I don’t have my ears pierced, so it’s pointless to be making a pair of earring. But then it streaks me. Why not doing a key-chain? For sure it would look great and is something I can use.
Then I realized that a few earing designs could be turned into key-chains and everyone can use key-chains, I mean how doesn’t have keys carrying around all the time? But not everyone has pierced ears. So by my need to own beautiful earrings designs, I decided to do a few inspired DIYs so I can contemplate – and use – every day.
Let’s get to business! As I said before, this isn’t an idea I had from scratch it is inspired by the earrings by a pair and a spare. I’ve done a few bits differently, but the overall look is similar.

Supplies:
Scissors
Sewing thread (Gold-ish yellow, Pale yellow, White, and Burgundy)
Embroidery Needle
Lobster Claws Clasps
Cardboard
Step 1. Start by cutting a piece of cardboard into a rectangle. Mine is 8cm long for 3cm which will make a tassel about 4cm long. Remember that, whatever method you use to create your tassel, it will always be by about half of the size of the length.


Step 2. Grab the end of the thread with your thumb and begin to roll around the cardboard piece. The bigger the tassel more thread you will have to use to give volume. I can’t tell you how many time I did roll it around because I wasn’t counting. I just judged the amount o thread and hopped it was enough. But in the end, you want to go around the same amount of times for each tassel, to make them even.


Step 3. Once you have enough, cut the thread and remove it from the cardboard – if you bend one side it will make it easy to take off – but keep the thread in shape. Cut an extra piece of thread and tie around the middle forming and 8. Tie very tightly to avoid the strings to slip away.


Step 4. Cut each side to open and separate every single string. Grab one side and pull the thread down the sides. The same way you do with a donut bun for your hair. Just pull strings down, it doesn’t matter if it isn’t even. Just pull them down and try to cover the knot you did.
Note: I tried mine in the middle because I like the messy look when the outer strings are shorter than the insiders. But if you want your tassel more even you can trim it down or tie the knot more to one side and make the longer one coming down, which will end up having a more similar length.


Step 5. Cut a piece of the burgundy thread and tie around the tassel “head”. Roll a few time to create the neck if you want it visible. If not just tie it once with a double knot to secure everything in place. Then cut the excess.

Step 6. Repeat this process two more times for the remaining colors, so you have three tassels.


Step 7. Grab a piece of thread with the same color of the top tassel – in my case yellow – and with a needle tie both ends with a knot two or three times in the same place to make it big enough to don’t slip away.
Now here comes the tricky part – at least for me – while I was making this key-chains I manage to tie the threat on the first tassel differently. On the first attempt, I used one string of the tassel to go through the thread of the needle and once I pulled it stayed in place. While on the other, I repeated the same process and it didn’t work. The string from the tassel came along and out from the top.
So I recommend you to pass your needle in the middle of the tassel from down way up and then cross it through the head of the tassel (see step 9). Without pulling all the thread pass your needle between the loop to make a knot. Pull it tightly, and it shouldn’t come off. Also, it doesn’t matter if the thread is visible since it will have another tassel on top that will cover it.

Step 8. Add the next tassel just passing the needle through the middle. If you want, you can repeat the same process and tie a knot, but I didn’t feel the necessity for doing it.


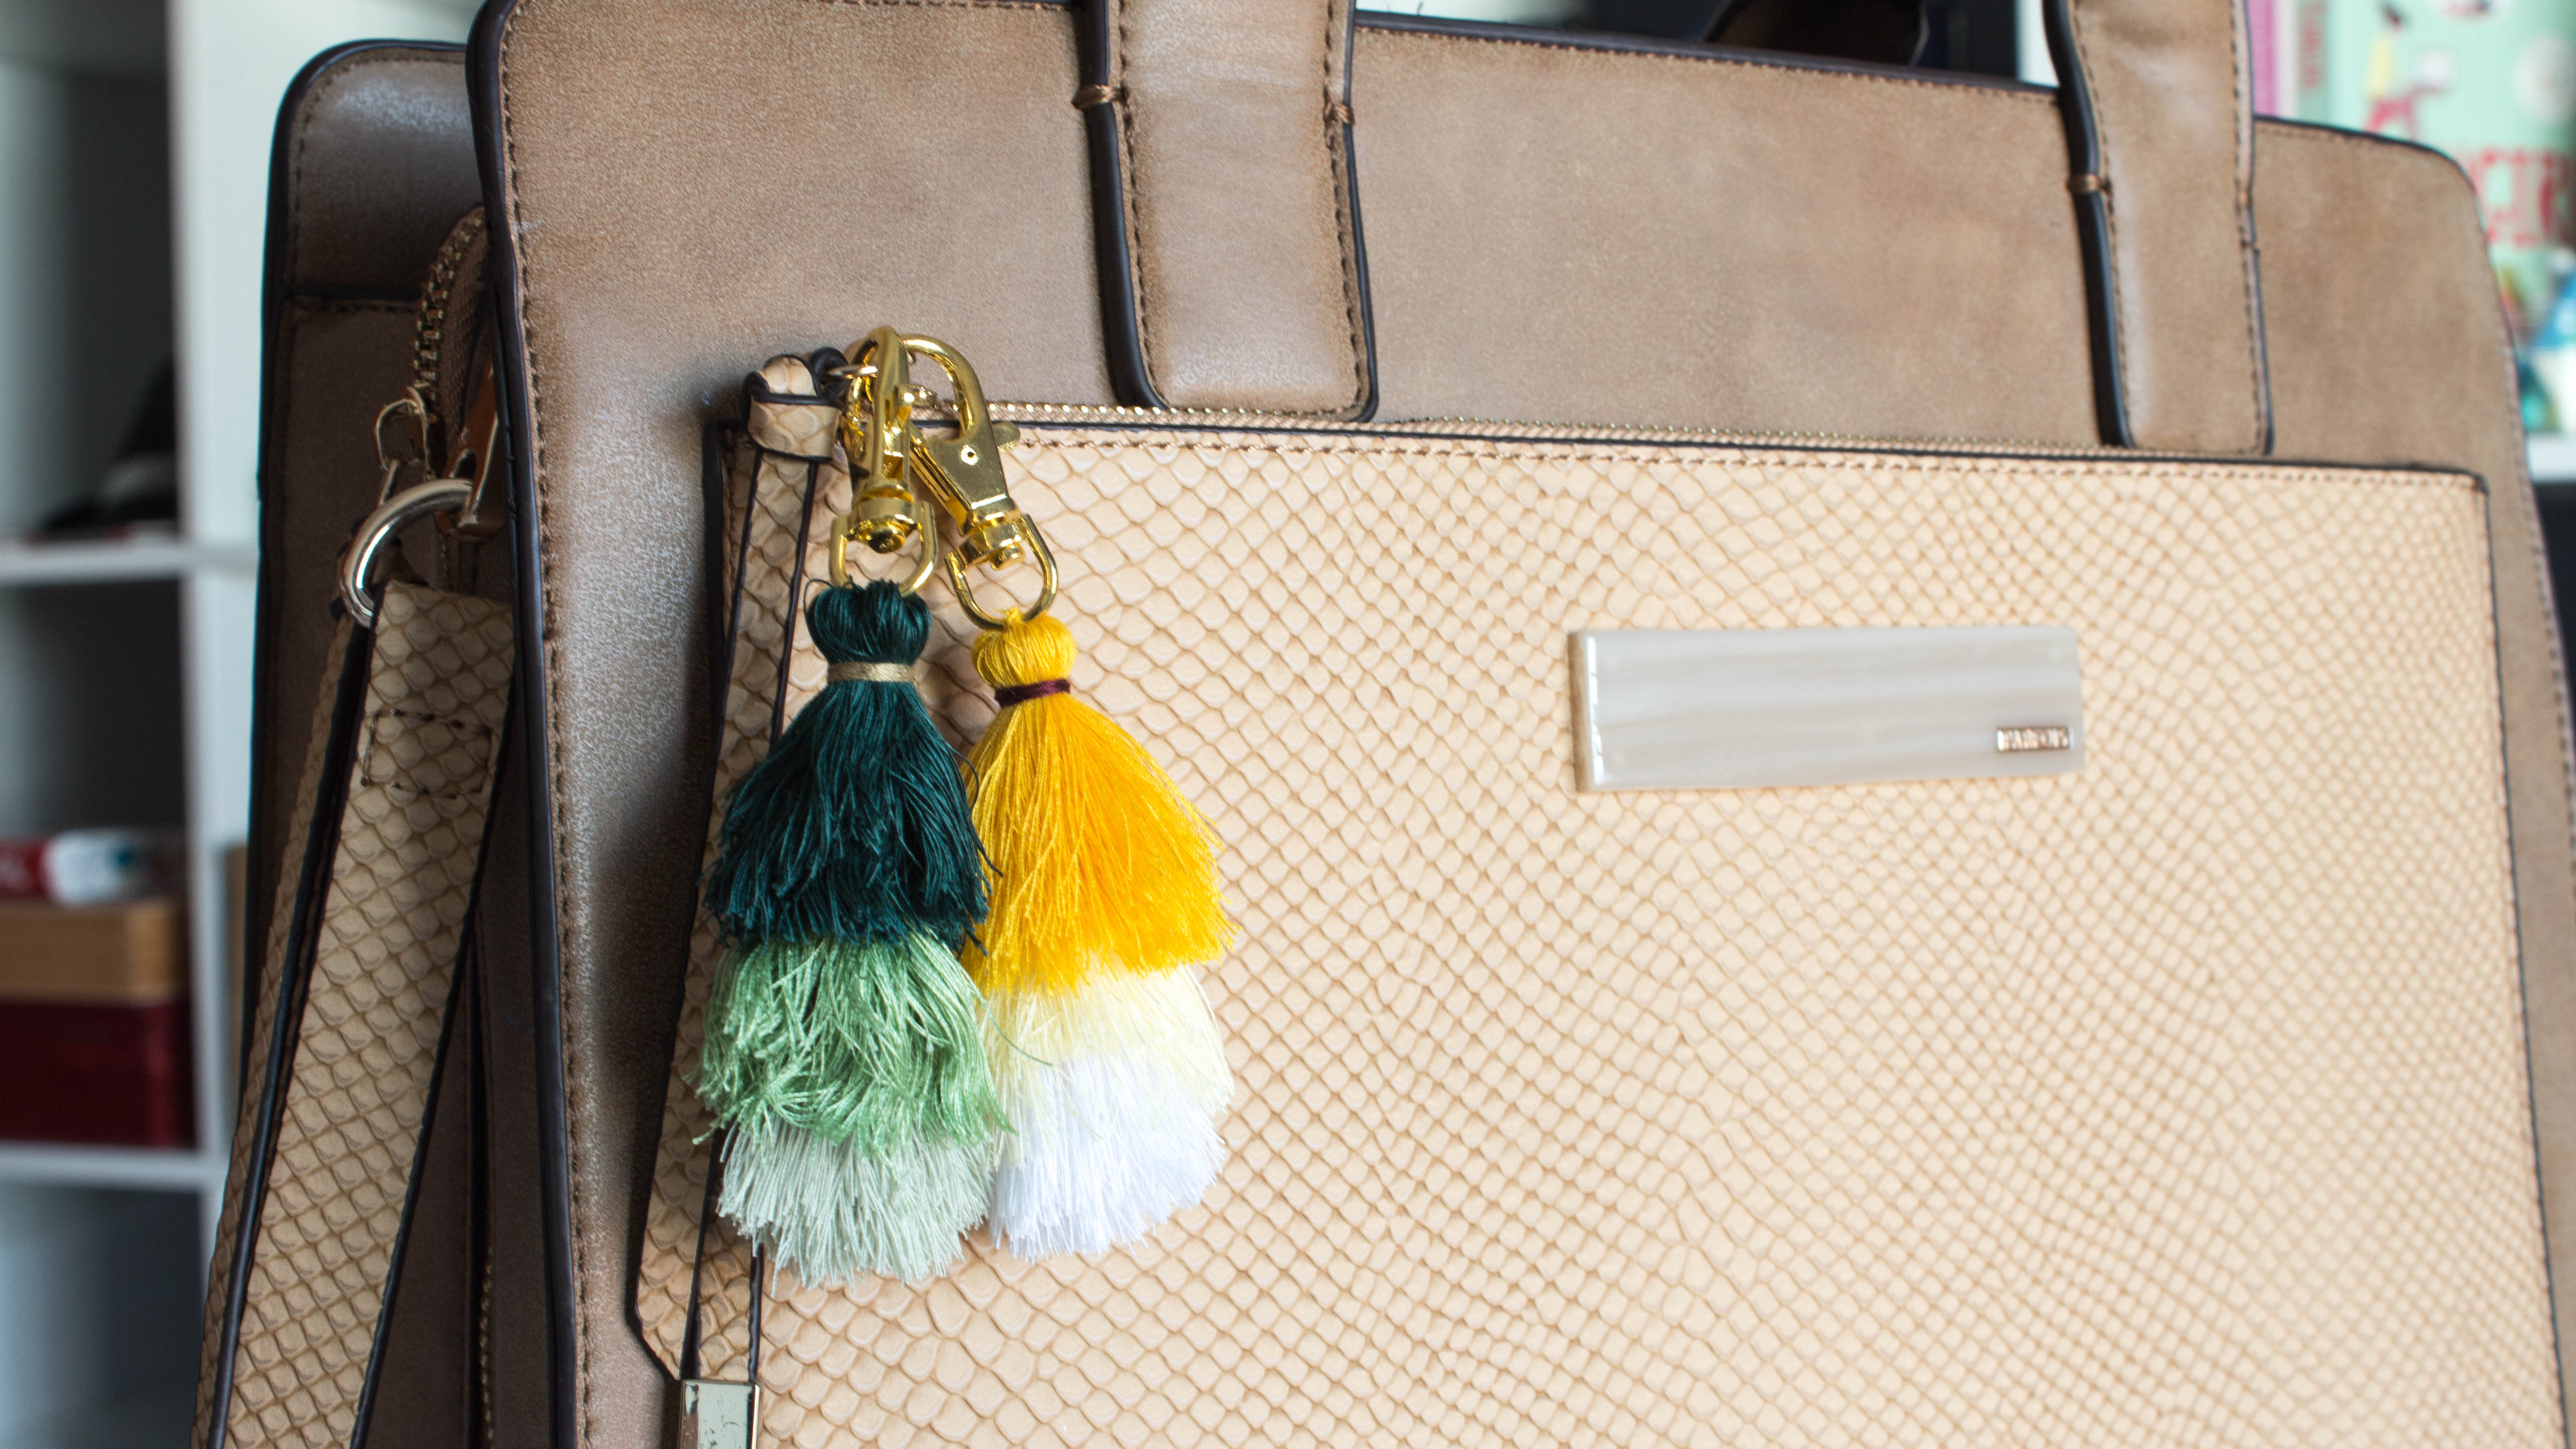
Step 9. Once you reach the last tassel, add the lobster claws clasps and pass the needle through the head of the tassel. Keep making loops around the clasp to secure it in place. To tie the knot pass the needle next to the clasp and under all the thread. Then pass it again through the loop and tie it tightly. Repeat it one more time and cut the excess.

And you are DONE! I love this key-chain, and I’m becoming obsessed with it. I know this might look too many steps, but I just like to take it step by step to make sure I don’t skip anything that might get you lost in the process. It takes less than 20 minutes, and you can do it while watching a Youtube video which is always nice. If you get stuck at any step, please let me know so I can improve this DIY.
Also, if you do this DIY, please share with me by email or social media because more than enjoying myself doing it, it’s to see other people have as much fun as I do. If you want more inspiration like this one, go over to my Pinterest album that is full of tassel earrings, or you can always search on Pinterest in general for another kind of key-chains. The point is get inspired and create something because there is nothing better as to create with our bare hands.