Last year, I manage to make a snowman between all the university madness by the end of the semester. It actually was in the Christmas tree but it was everything so rushed and stressful I didn’t even bother to do a proper blog post about it. Although this year is different and today is time for me to give to you my Snowman DIY.
I experimented with different cover material that could give a similar texture to snow. Unfortunately, since it’s on a small scale it always ended up weird looking and nothing like I wanted. I try to cover it with fake snow (shredded styrofoam), cotton, and even the leftovers of a pom pom. But nothing worked. Until I remembered I had a little box of sand and I thought “could it be that simple?”. I give it a try, let it dry, and paint it over. Although it isn’t exactly like snow it does give a slight texture to the plain styrofoam balls. As simple as that, I found my recipe for snowmen. And since I live in a seaside town, the sand is very easy to find and is free!

Supplies:
Black cardstock
Felt (Red and Blue)
Ribbons (matching the felt colours)
Sand (small grain)
Styrofoam balls in 2 sizes (2,5cm and 3,5cm)
Needles
White Acrylic Paint
Pencil
Brush
Hobby Knife and Scissors
Wood/White and Universal Glue
Clear Tape
Marker (Black and Orange)

Step 1. Grab one of the small balls and cut 1/4. Try imagining where is the centre of the ball and then imagine the centre of the half. This doesn’t need to be perfect but make sure your blade is sharp to make the job easier. Put the ball aside.


Step 2. With the little piece of styrofoam, you just cut out, put it on top of the big ball and, with the help of a marker, trace its size. You can use a needle to keep it in place while you trace it if you want. Do the same on the polar opposite of the ball. It doesn’t have to be perfect, they are just guidelines. Then cut it out with the hobby knife.

Step 3. Glue the small ball to the big one with wood glue or any other polystyrene glue. Add a needle to the top to secure it in place. Don’t worry you’ll be able to take it afterwards.
Note: Never use a universal glue or any other kind of glue with styrofoam, unless is for polystyrene or wood glue. Otherwise, the styrofoam will start to dissolve with the chemicals.


Step 4. Grab the “snowman” by the head and with a brush starting spread wood glue all over the bottom part of the body. Avoid the cut part since if you cover it with sand the snowman won’t get as much balance as if the surface was even. Now comes the messy part! Roll the snowman on the sand and with your hand or the help of a spoon add sand on any spot it might have missed. Tap it a few time to get rid of the excess sand and leave it to dry.
If you don’t mind to get messy, instead of just doing the bottom part of the snowman do all of it at the same time and cover it in the sand. But remember to keep the cut part clean.
Step 5. Repeat the process for as many snowmen you want to make.
Step 6. While the snowman is drying is time to make the accessories. Since they are so small I wanted to keep it simple with just a hat and a scarf. Cut a strip of felt about 8mm wide to wrap around the snowman’s “neck”. Set it aside.


Hat Step 1. For the hat cut a stripe of cardstock with 2cm wide. Then wrap it around the snowman head to get the right measurement. I feel like a tailor now.

Hat Step 2. With some clear tape join both ends of the stripe creating a circle.


Hat Step 3. On another piece of cardstock, contour the circular shape with a pencil and then draw little peaks around it. They don’t have to be perfect, it’s just to help glue it. Cut it out and fold in every peak.
Hat Step 4. Do another contour but with a margin to make a bigger circle – this is going to be the brim – and cut it out.


Hat Step 5. Try to fit the small circle in the top of the hat and then add glue to the peaks a secure it in place. Go inside the hat and spread all the peaks against the cardstock to make sure it glues properly. Then glue the big circle on the other end.


Hat Step 6. Cut a piece of ribbon to wrap around the base of the hat and glue it. Keep in mind to align the ends on the back of the hat where the cardstock merge.


Hat Step 7. When it’s all dried carve a cross on the bottom of the hat to open a whole for the snowman’s head and fold it in.
Step 7. Now if by this time the bottom of the snowman is already dry, tap a few more time to get rid of any excess sand. Remove the needle from the head and spread more wood glue all over it. Cover it with sand and let it dry.

Step 8. When the snowman is all dried out and free of excess sand, start painting it in white. Cover all the spots and even double coat if necessary. Let it dry.


Step 9. Now the snowman is ready to be decorated. Glue the stripe of felt to the snowman and to the felt itself when overlaps to keep in place. Secure with a needle until it dried out. Later, trim as you wish. Then glue the hat in the position you want keeping “the ugly part” on the back.


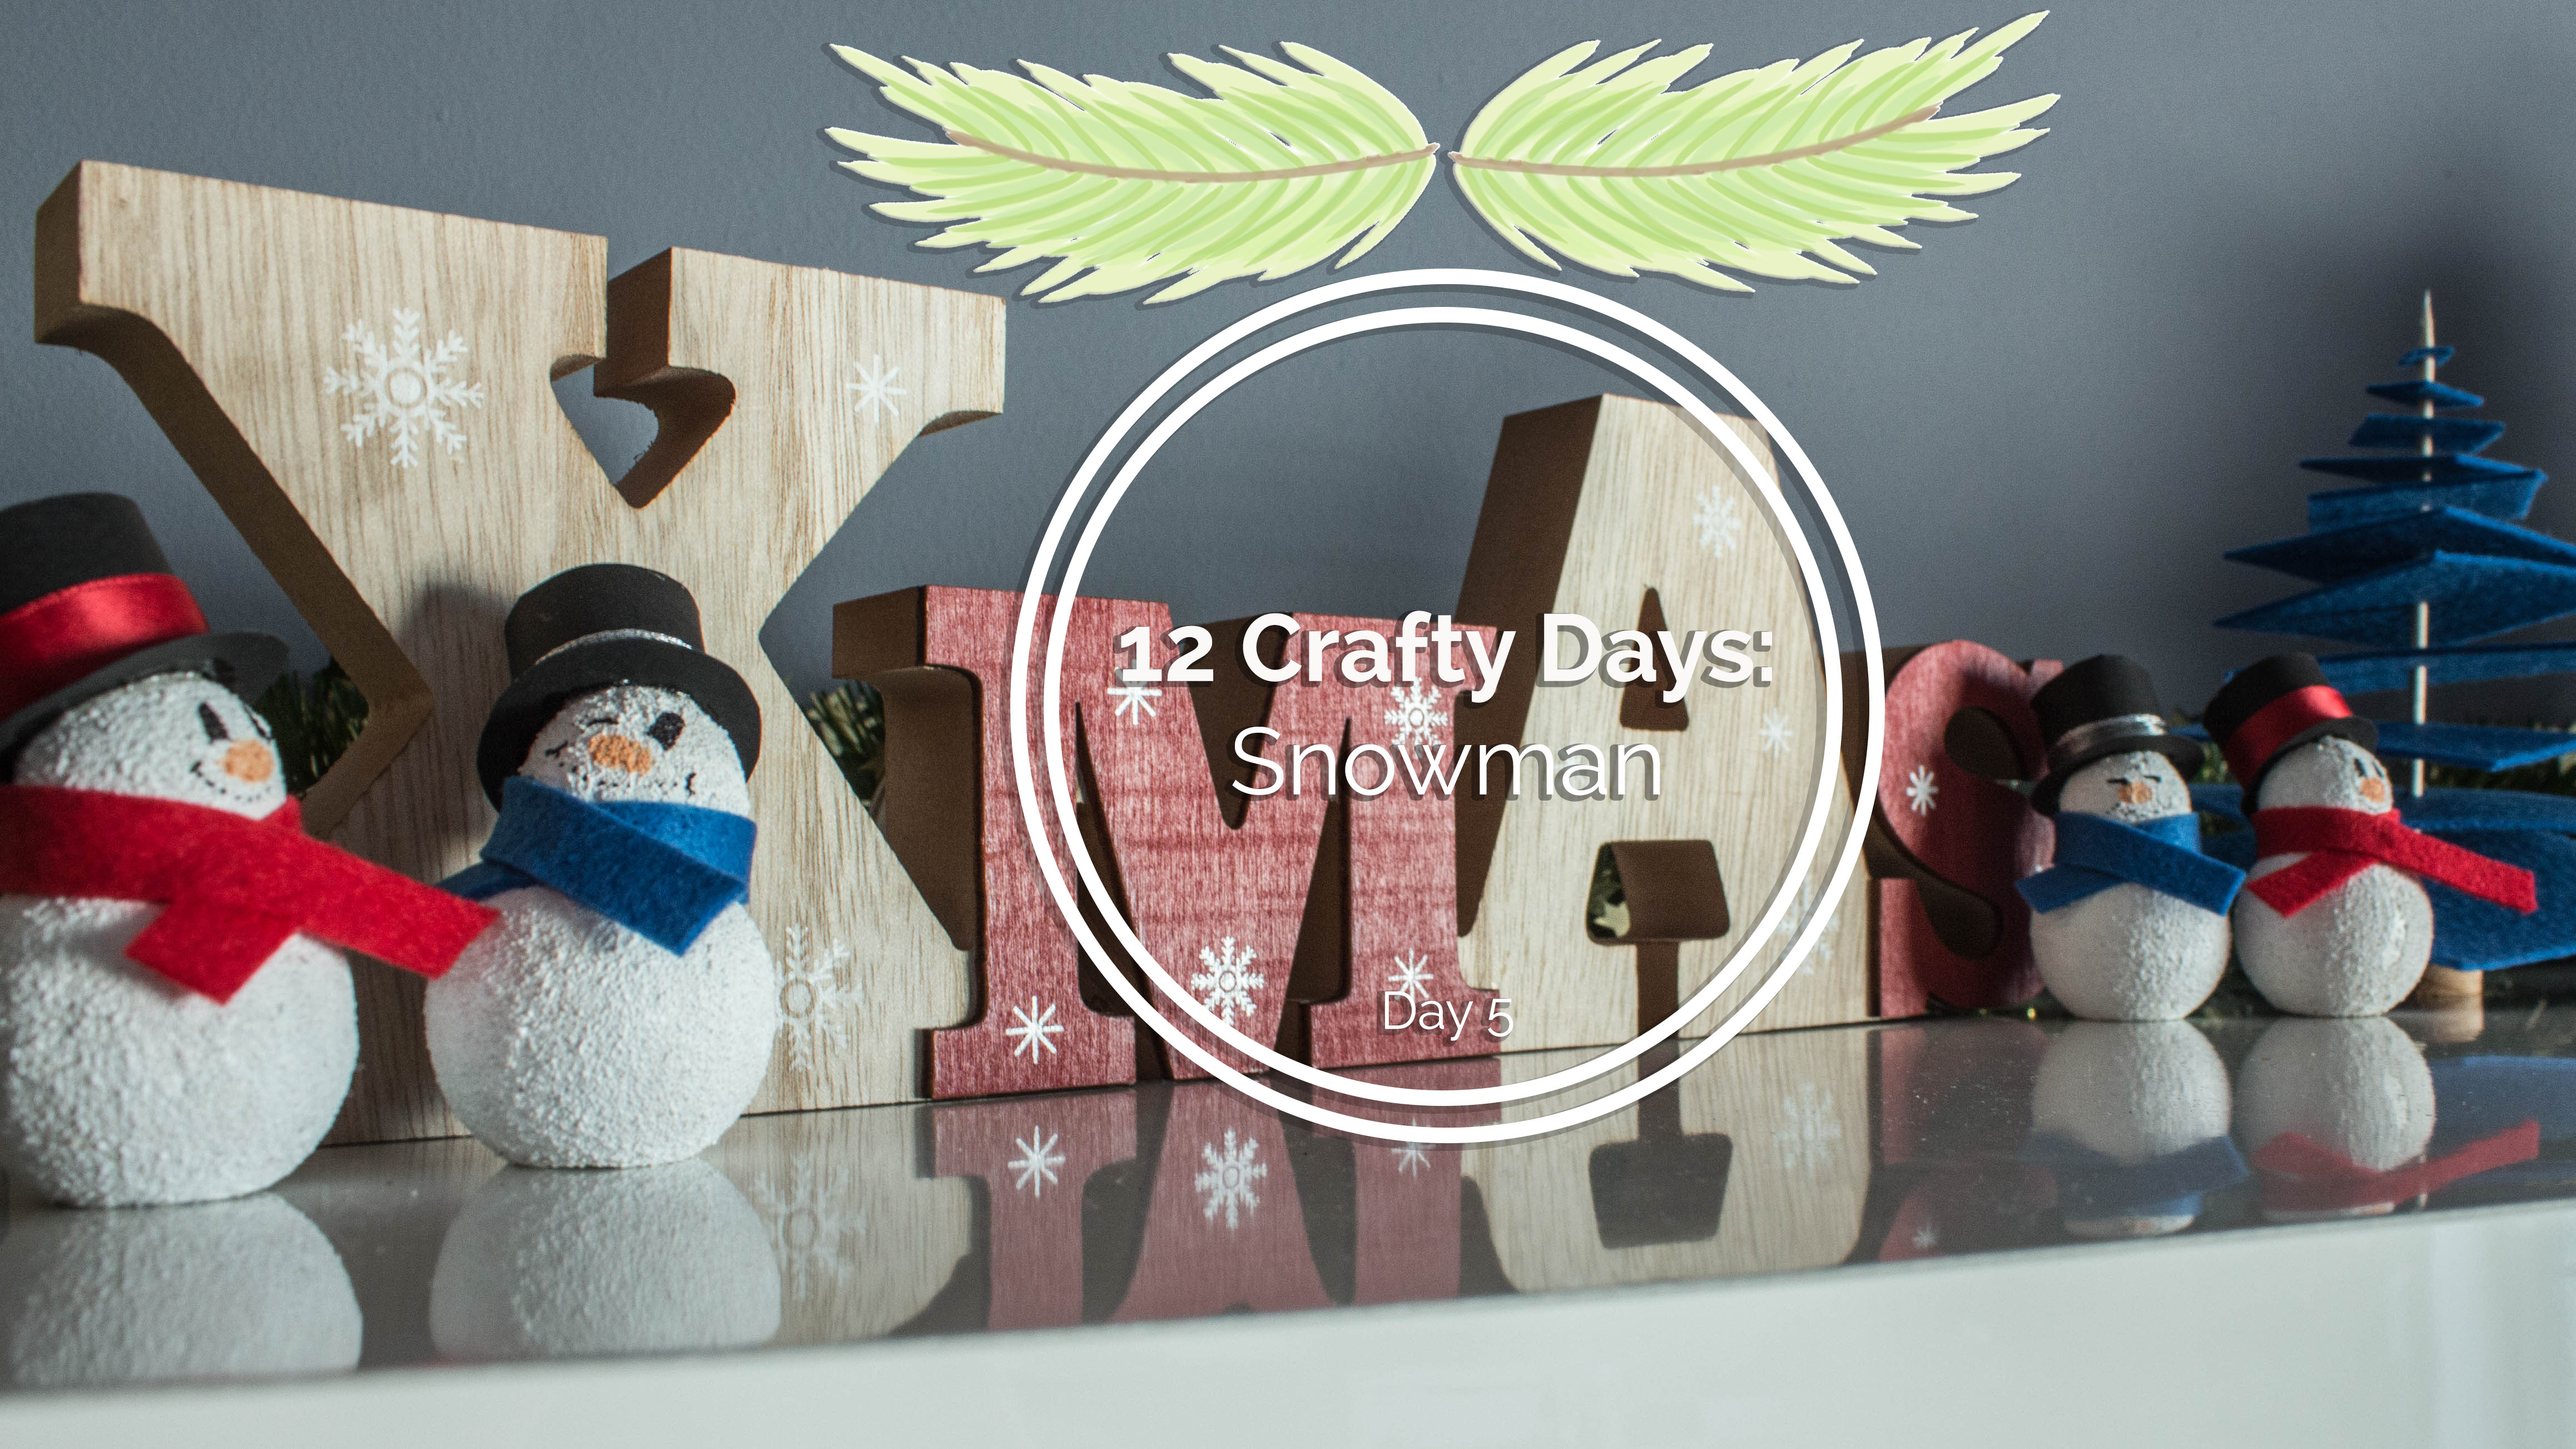
Step 10. With a black marker and an orange one draw the eyes, nose and mouth. I actually attempted to do various expressions to give them different personalities. For inspiration search on Pinterest for ideas. I’ve actually kept them without the buttons on the bellies because I like them as they are.

I can’t get enough of this craft, it’s one of my favourites of the year. They are so cute and the touch with the different expressions does make them unique and funny. On my first blogmas post, I talked about all four of them but here I only have three: Goofy, McSmiley and McGrompy. The last one is my favourite. There is something about characters that are always complaining about everything that people love. He is a sweetheart except when he’s cold, which is all the time. I believe he doesn’t know he is a snowman, I think he might be in denial. But shhh don’t tell him.
Merry Christmas!